Detailed Instructions for Mounting
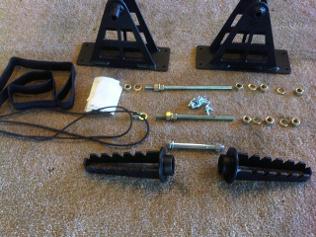
Your kit comes with foot pegs, front and rear mounting brackets and axles,and mounting hardware.

Step 4: Remove the paper backing on one side of the heavy duty 2 way tape and install on the ends of the brackets (2 per bracket) making sure to cover the three mounting holes on each end of the brackets.
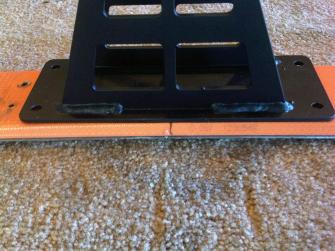
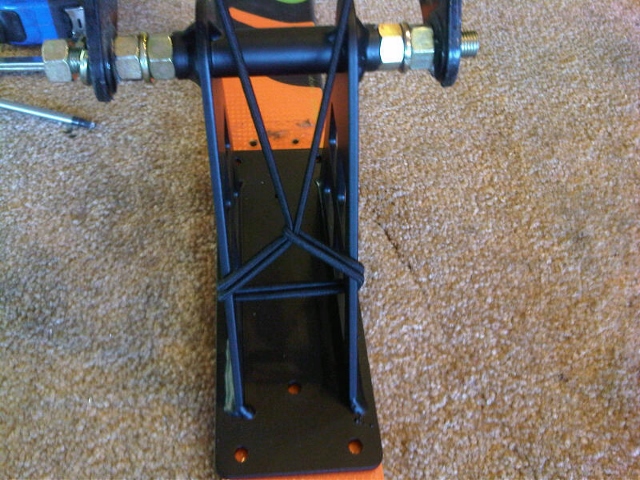
Step 5: remove the paper backing from the 2 way tape and press the bracket firmly onto the center of the ski using the line on the skis and the center vertical post on the brackets.
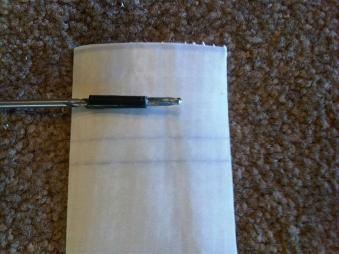
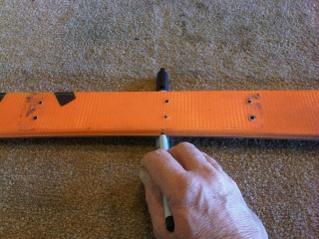
Step 6:Place a piece of tape on a 3/32 or 7/64 drill bit approximately 1/4 of an inch from the end of the drill bit

Step 7: Drill pilot holes into the skis being careful not to drill through the skis(use the tape as a guide) If you happen to drill through, just repair with P-Tex from your local sporting goods store.
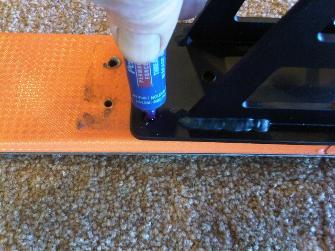
Step 8: Be sure to fill the drilled holes, as well as any other holes, with an outdoor glue or thread lock compound. Old binding holes can also be filled with P-Tex. This provides a seal so moisture does not get into the core of the ski.
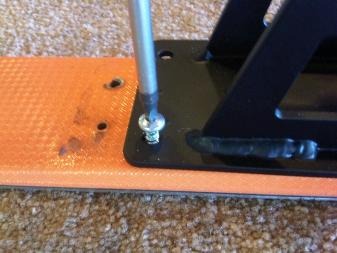
Step 9: Install all the mounting screws BY HAND ONLY! Do not use a drill or drill driver. Do not over tighten. Be especially careful if you are using kids skis as the are thinner and the mounting screws may dent out the base P-tex. If this happens, back the screw off slightly and push the P-tex back in with the handle of the screw driver.
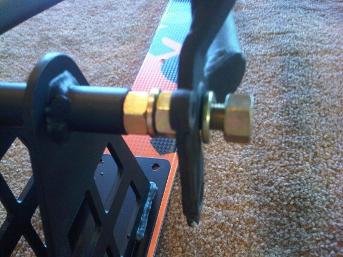
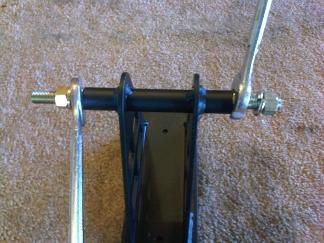
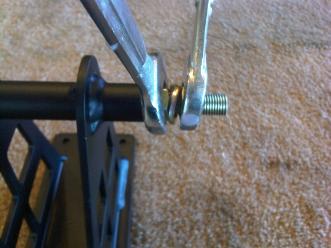
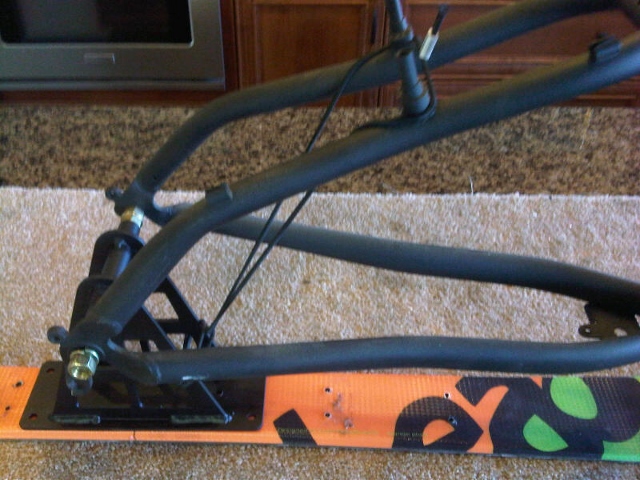
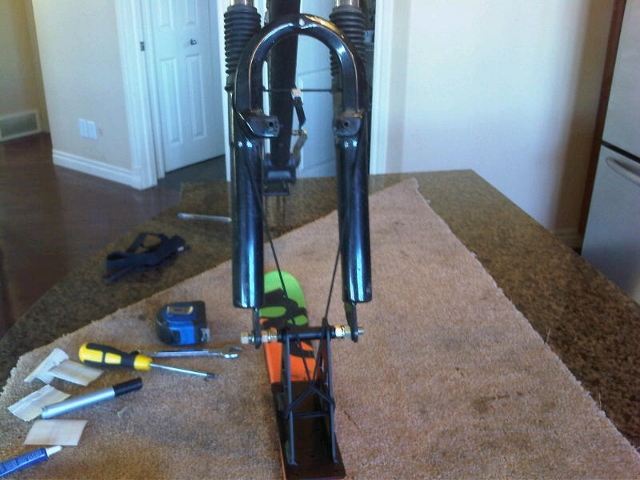
Step 10: Install the skis and brackets onto your bike and tighten nuts as you would for a bike axle. You may need to slightly pull the forks and rears apart in order to get the brackets on!
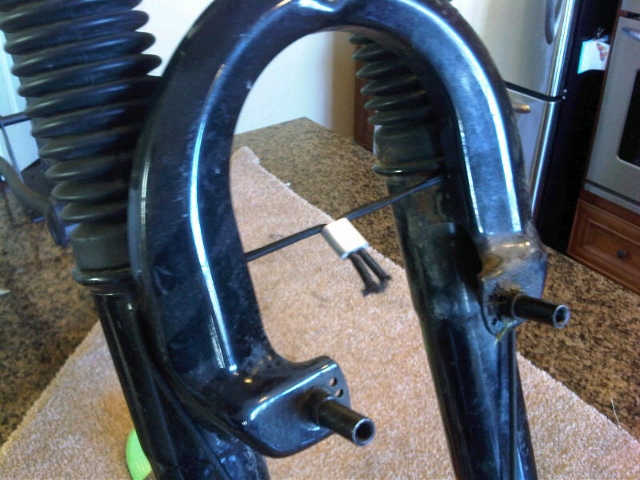
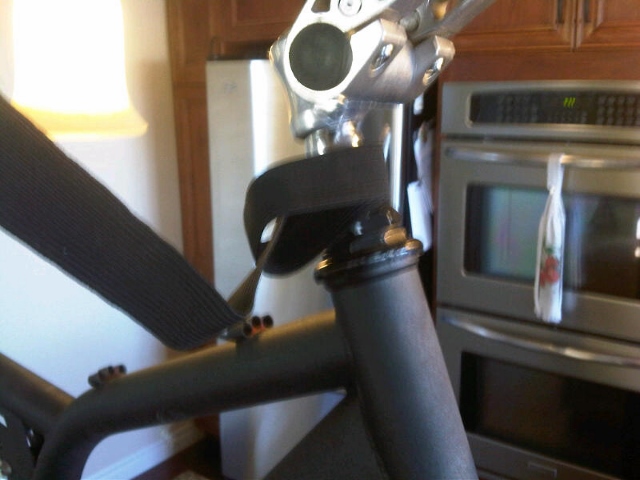
Click on the photos above to install the safety straps and hand tether. These are not included with the kit, but the material can be purchased at any fabric store or Walmart for a few dollars. You may need to alter how you install these depending on your bike style.
The foot pegs get bolted through the bottom bracket where you removed your pedal cranks.
When getting on the chairlift, just pull the bike in a "wheelie" position and sit down with the seat of your bike between your legs, or put the bike across your lap. Keep the bike in this position and pull the safety bar down and hold it and your handle bars at the same time. When dismounting, just let the rear ski land on the snow and take a couple of steps as you lower the bike and sit on it. You should be about twice as fast as the snowboarders on your first try :)
Spend the first few days on green runs until you become very confident on your ride. Watch the video on the front page of the website as well as some of the ski biking videos on you tube. I am 52 and have yet to have a serious fall as I took my time to learn! Have fun and tell your friends about the great new winter sport you have taken up!
Thank you again,
Charles "Chic" Tyson